Introductory Note: To begin, you'll need to purchase the OEM Center Console. We usually keep them in stock.
Console Removal
I was not present during the removal process, but it's believed that there are 8 bolts that hold the console in. They are located as follows:
- 2 under the cup holders (just remove the cup holder trim)
- 2 on the sides, below the cup holders (behind cover plates)
- 2 on the sides next to the seat (exposed)
- 2 in the rear, bolting to the floor (seat bolts need to be loosened)
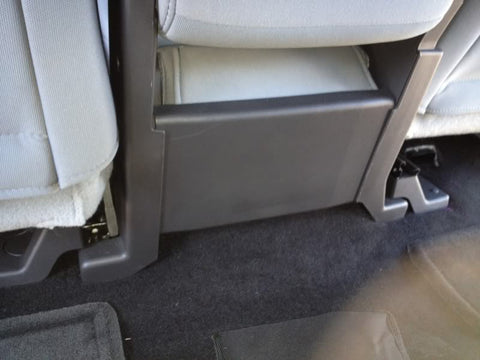
Jump Seat Removal
There are only 4 bolts holding the jump seat in place:
- 2 at the rear of the seat, bolting to the floor (seat bolts need to be loosened)
- 2 under the seat (need to remove 2 screws in front of the seat, then pull tray out cautiously)
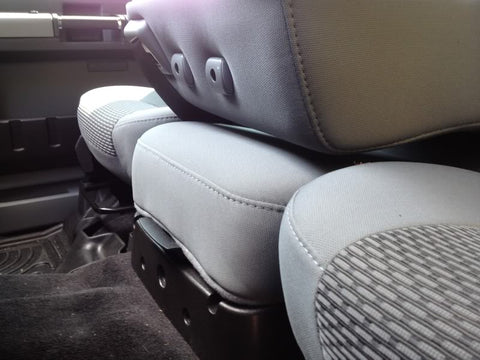
Additional Steps
Here's a step-by-step guide to removing the jump seat:
- Loosen the front bolts on both the driver and passenger seats.
- Completely remove the rear bolts on both seats.
- Tip the seats up to access the console and jump seat bolts.
- Remove the two screws holding down the seat.
- Remove the seat belt strap and receiver as they are attached to these bolts.
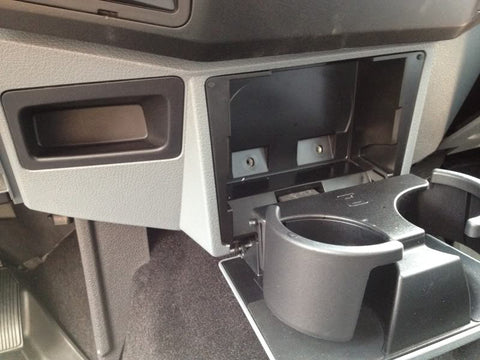
Dash Removal for Cupholder Installation
While it may seem intimidating, removing the dash is quite straightforward:
- Remove the 2 Torx screws behind the cup holder.
- Remove a few more screws on the panel itself.
- Pull the 12V plate and 3.5 plug (and Sync if present).
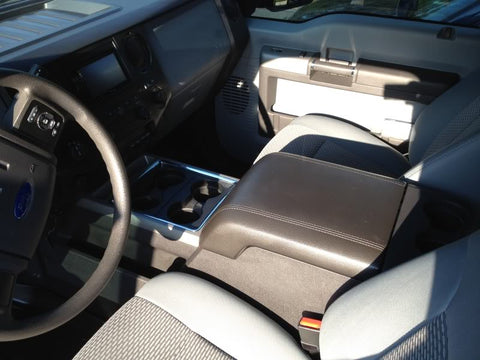
Console Installation
Now, it's time to install the new console. There are several options for securing it, including an optional front support bracket.
Follow the reverse steps you took for removal to install the new console.
Conclusion
The process is a bit more challenging for the truck that receives the jump seat. Note that you'll need to cap off the vents that were connected to the console. The installation should otherwise proceed as above.
Your new console is now fully installed!